Scenario: I am continuously being asked to set up printers so that they can communicate with StreamServe. The best way to do this is to configure a printer on the Test host server, make sure its successfully printing and then replicate in the Live host server. This tutorial shall instruct you how to add a printer to a Windows Server.
PLEASE NOTE: The printer I am adding is a ZEBRA label printer for the Goods Intake Bay of a warehouse
- Click Start and select Devices and Printers and select the Add a printer option (Figure 1)

- Select Add a local or network printer as an administrator (Figure 2)

- Select Add a local printer (Figure 3)
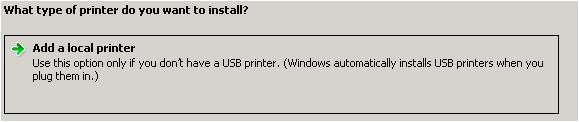
Figure 3 - Select the Create a new port option and make sure it is a Standard TCP/IP port (see Figure 4)
- Click Next

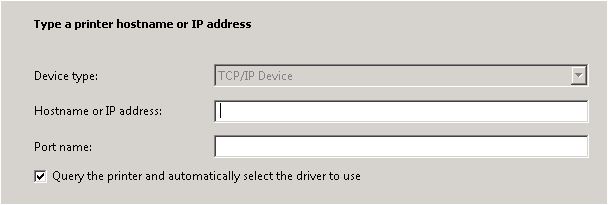
Figure 4 - Type the new IP address into the Hostname or IP address textbox (Figure 5). This will automatically input the same IP into the Port name textbox
TIP: If the IP address is already being used then the suffix _1 will be appended to the IP address in the Port name textbox e.g. xx.xx.xx.xxx_1
- Click Next
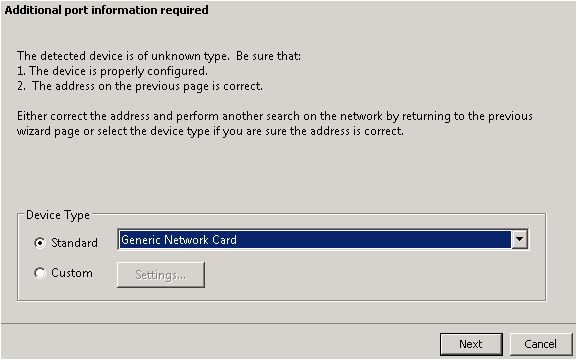
- The IP of the printer is queried and detected as long as it is online on the network
- Select the Generic Network Card as the Device Type (Figure 6)
- Click Next
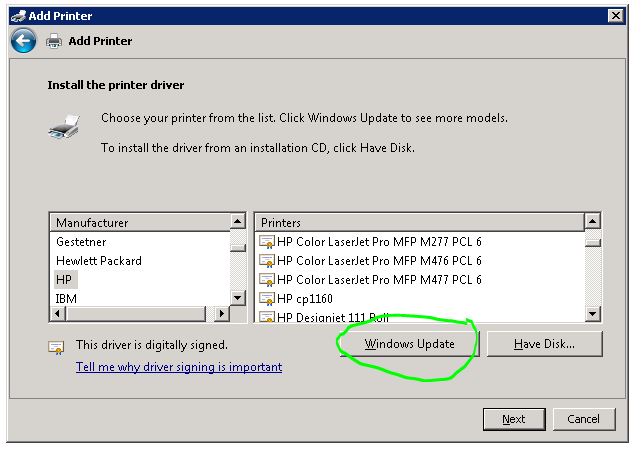
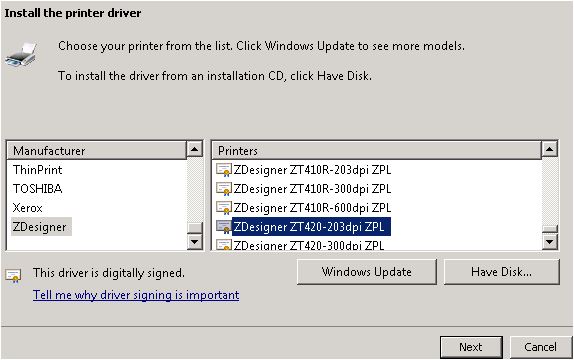
- Select the Manufacturer and Printer model you are configuring (Figure 7)
TIP: Click the Windows Update button to update the list of models / drivers from a central Microsoft repository.
- Click Next
- Type the Printer name – you should make this a meaningful name. In this case the name is INTAKE_BAY (Figure 8).
- Click Next to install the printer

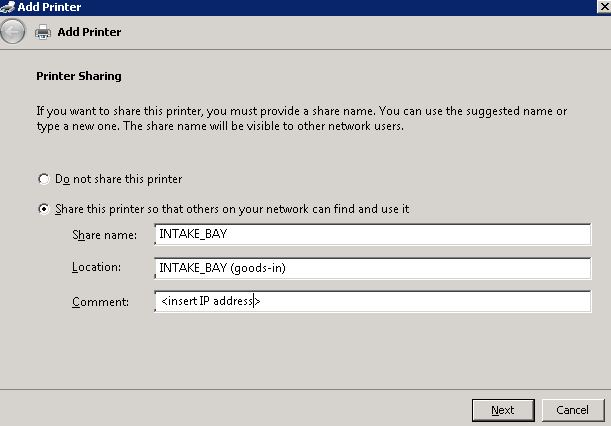
- Select the Share this printer … option , type in a meaningful Location and type the IP address into the Comment textbox (Figure 9)
- Click Next
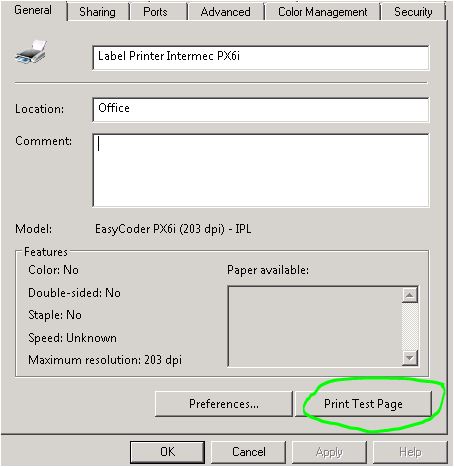
IMPORTANT: The printer is now installed. I advise you to run a test page (Figure 10) to make sure it is printing OK.

IMPORTANT: The printer is now visible in Devices and Printers (Figure 11)